I’m often asked how I shoot photos from a paraglider. There’s no easy answer to this, but if I could put it down to a few things it would be having a good group of people and pilots to work with, good weather conditions and then…a lot of practice.
Flying Solo or Tandem
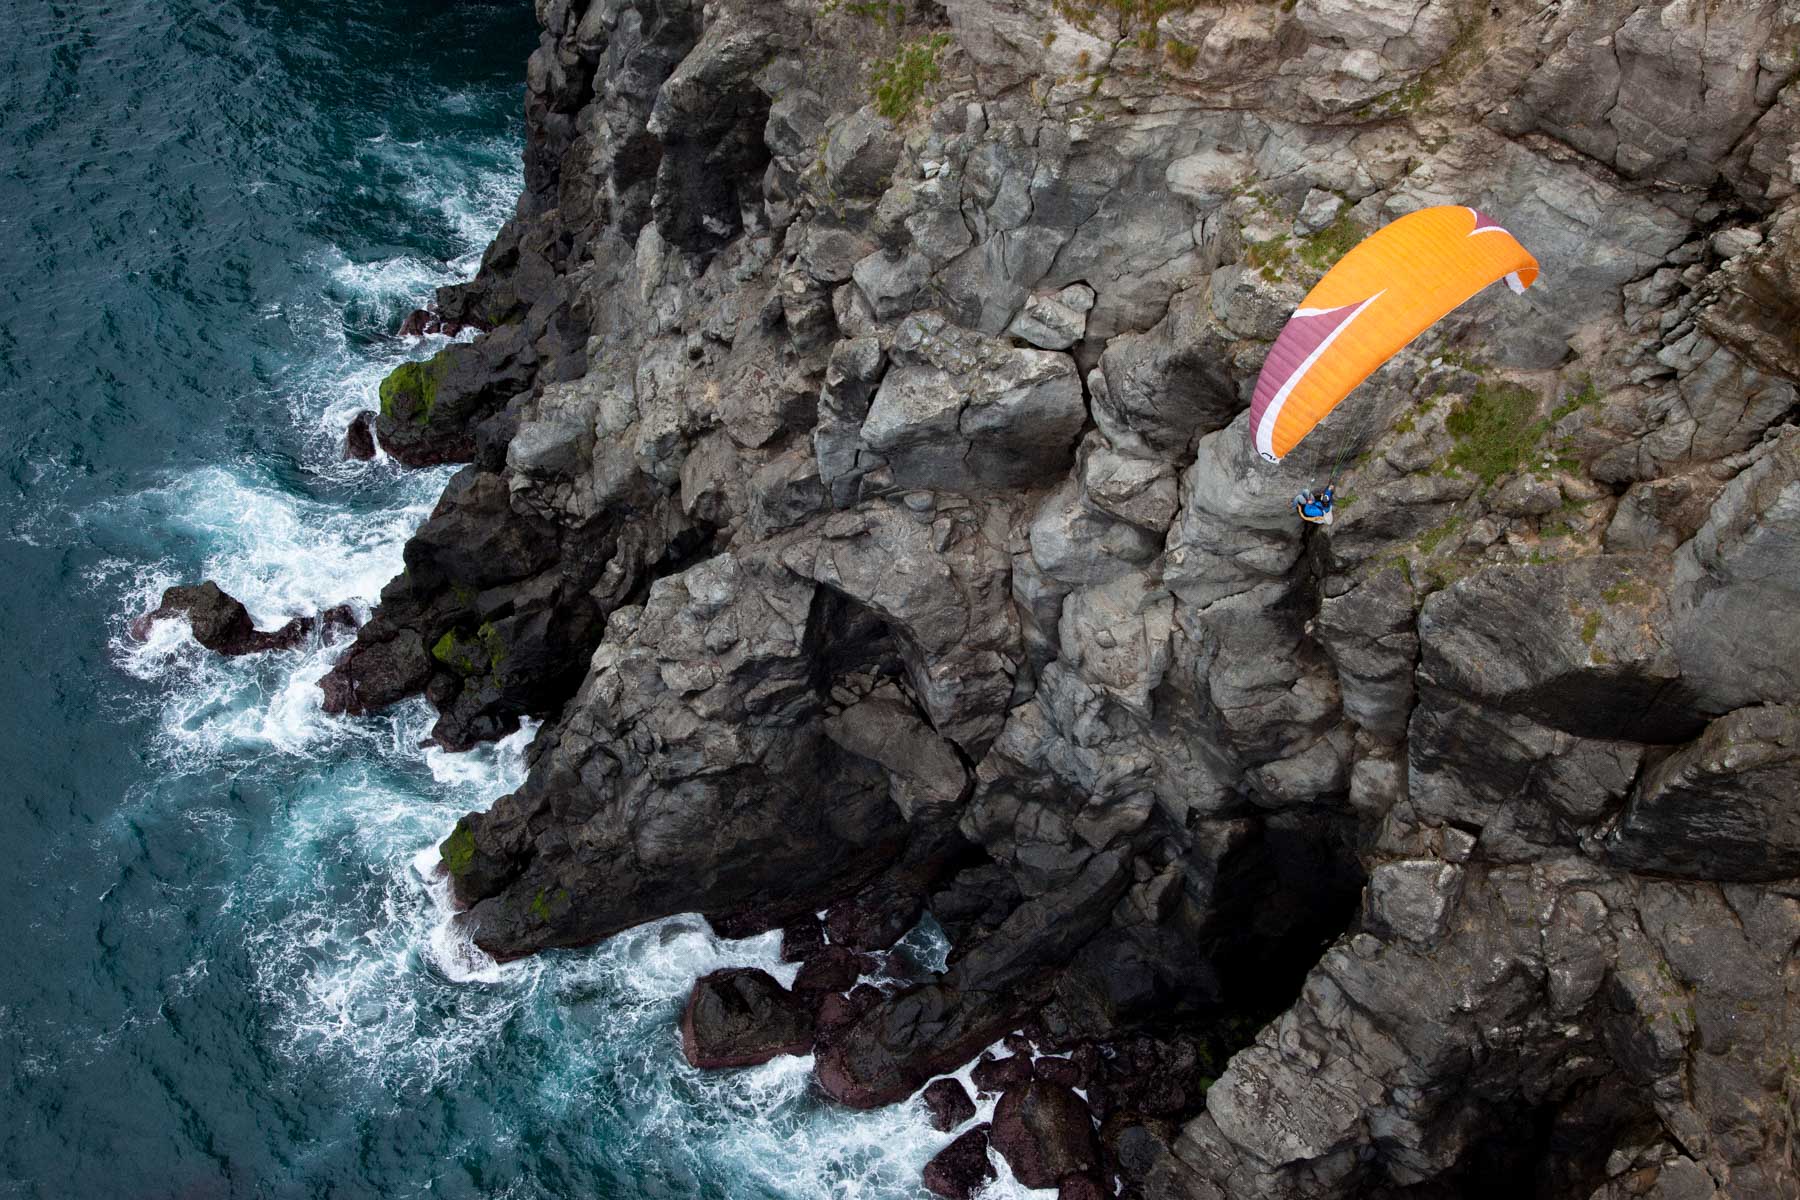
When shooting paragliding, the logistics is definitely the hardest thing. A lot has to come together- not just light, background and all the things that usually go into making a good photo- but I have to be in the air, my subject has to be in the air, the weather has to be right, at the right time of day… I have done quite a bit of shooting flying solo, but the percentage of good shots while also piloting is lower because you have to focus on flying first. Therefore, I try to shoot on tandem if I’m doing an important photo shoot. Tandem means having another pilot fly me so my hands are free and I can concentrate on just the shooting and not crashing into the side of a mountain or having my wind collapse.
Light and Location
When photographing, I’m always focusing on a few things.
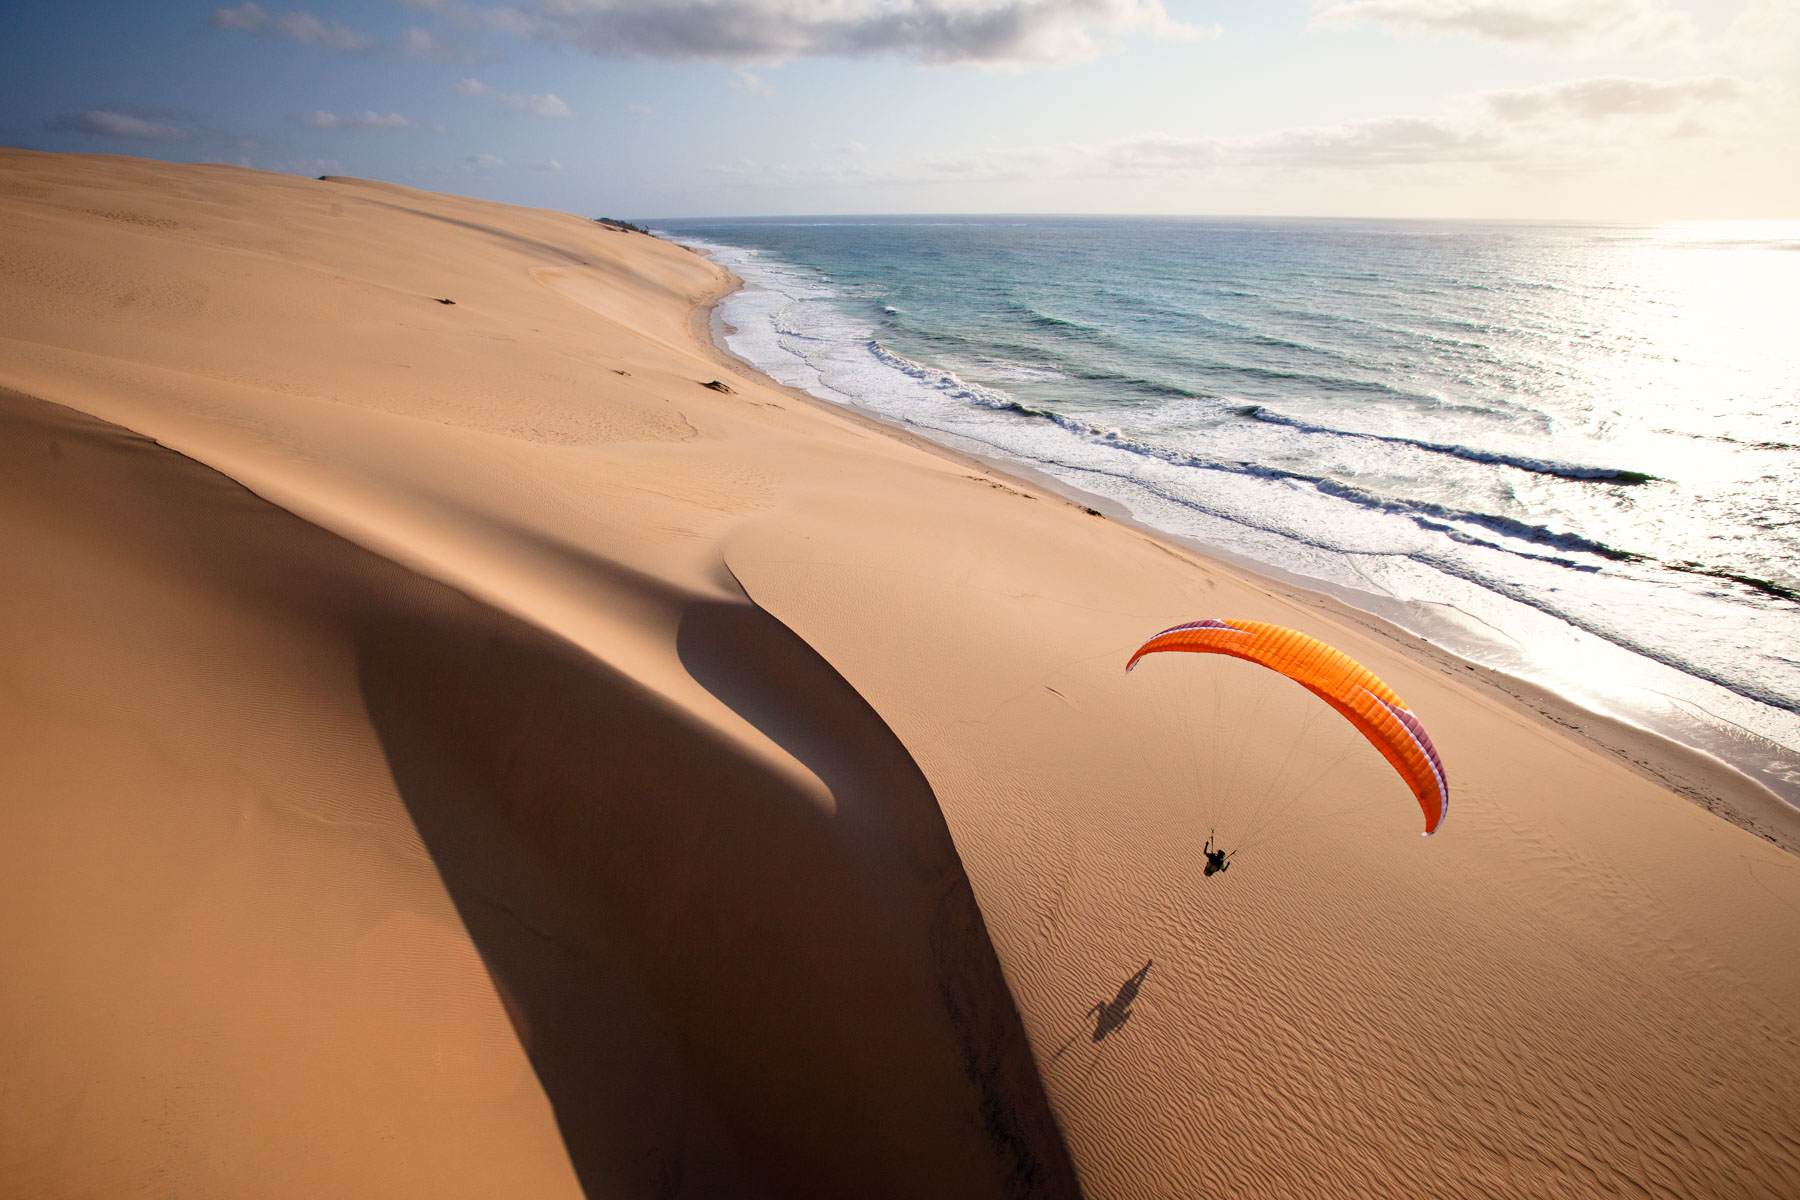
- Light is of course extremely important. I’m always looking for amazing pockets of light to send another pilot to fly into. Flying early morning and late afternoon helps a lot. It won’t be the best time to fly any distance but it’s always the best for photographs.
- I’m also looking for interesting areas in the geography we are flying over. Fortunately there is always something interesting to see from the air but certain places will stand out.
Equipment
Having the right equipment is important when doing paragliding photography because it helps to have something fast. I usually shoot with the Canon 1DX because it has such a high frame rate but it is very expensive. You definitely don’t need that body but I would try to use a camera with the highest frame rate that you can afford. Flying with something with a smaller body that is not as big and is less weight will be more ideal anyways. You will sacrifice the frames per second but not having something bulky and heavy is more important. The lenses I use need to be fast so that it can also capture the action. Remember, not only is your subject moving but you are moving as well so investing in good, fast lenses helps. I primarily use wide angle lenses. My go to paragliding lenses are the Canon EF 24-70mm f/2.8L II USM lens and/or the Canon EF 24-105mm f/4L IS II. Wide angle is ideal for me because I want to capture the landscape of the area that I am flying in. With paragliding it’s always the place or location that makes the images spectacular…not just the paraglider. It is important for me to capture the “sense of place.” Keep your gear simple because you don’t want to change lenses very much while you’re flying. I like to use a flight deck bag to put my gear in and if my camera body is too big, I will use a very small backpack and where is backward on my chest instead of my back. It works well because you can place your camera down in the bag while you are flying and you can leave the bag open until you land and the gear won’t fall out. Having the right bag is important because you need something that has really quick access and a good resting place for your camera when you are flying or in turbulent air and for general protection in case of a bad landing. Radios used to communicate with your subject are very important and a briefing with the pilot is vital. Also, try to scout the area by having a couple flight first to get an idea of some of the shots you want to take in your head. This helps with giving the other pilot/s some idea of what you are looking for before you launch.
When you imagine the immersion that is required to shoot well when you’re on land, the challenges significantly increases when you’re in the air. Lens caps, changing expensive lenses, changing CF cards, changing batteries- one quick slip and your gear is gone, forever. When I shoot in the Himalayas we can often get up to altitudes near 20,000 feet, with temperatures well below zero. Try working all that gear with frozen hands or using big gloves or mittens or your gear freezing. Also, if I shoot and fly tandem I will get motion sick so I usually take some non drowsy meds before I fly tandem. Once I spent one a 2 hour shoot while flying on tandem throwing up every 5 mins between taking shots so if you think you might get motion sick, take something before hand.
Flying in differentAir Conditions
Shooting from a paraglider in the air can be relatively easy if you have good smooth flying conditions. If you can fly in coastal, laminar ocean air or in the early morning or late afternoon it will be the most stable. This will allow you to take your hands of the brakes and focus on the taking images while at the same time being aware of what other pilots are doing. I will often shift my body weight to turn the glider instead of adding input through the brake. This allows me to stay focused on shooting but allowing me to make slight changes without losing the frame I‘m shooting. It is altogether different when there are thermals (rising hot air). In this case you need a lot of experience, knowledge and skill to know when to photograph and when not to. If you don’t have your hands on your brakes during a collapse you can lose control of the glider and will likely loose some of your camera gear. This is something you want to avoid so that you don’t have to end up pulling your reserve parachute.
Bringing it all Together
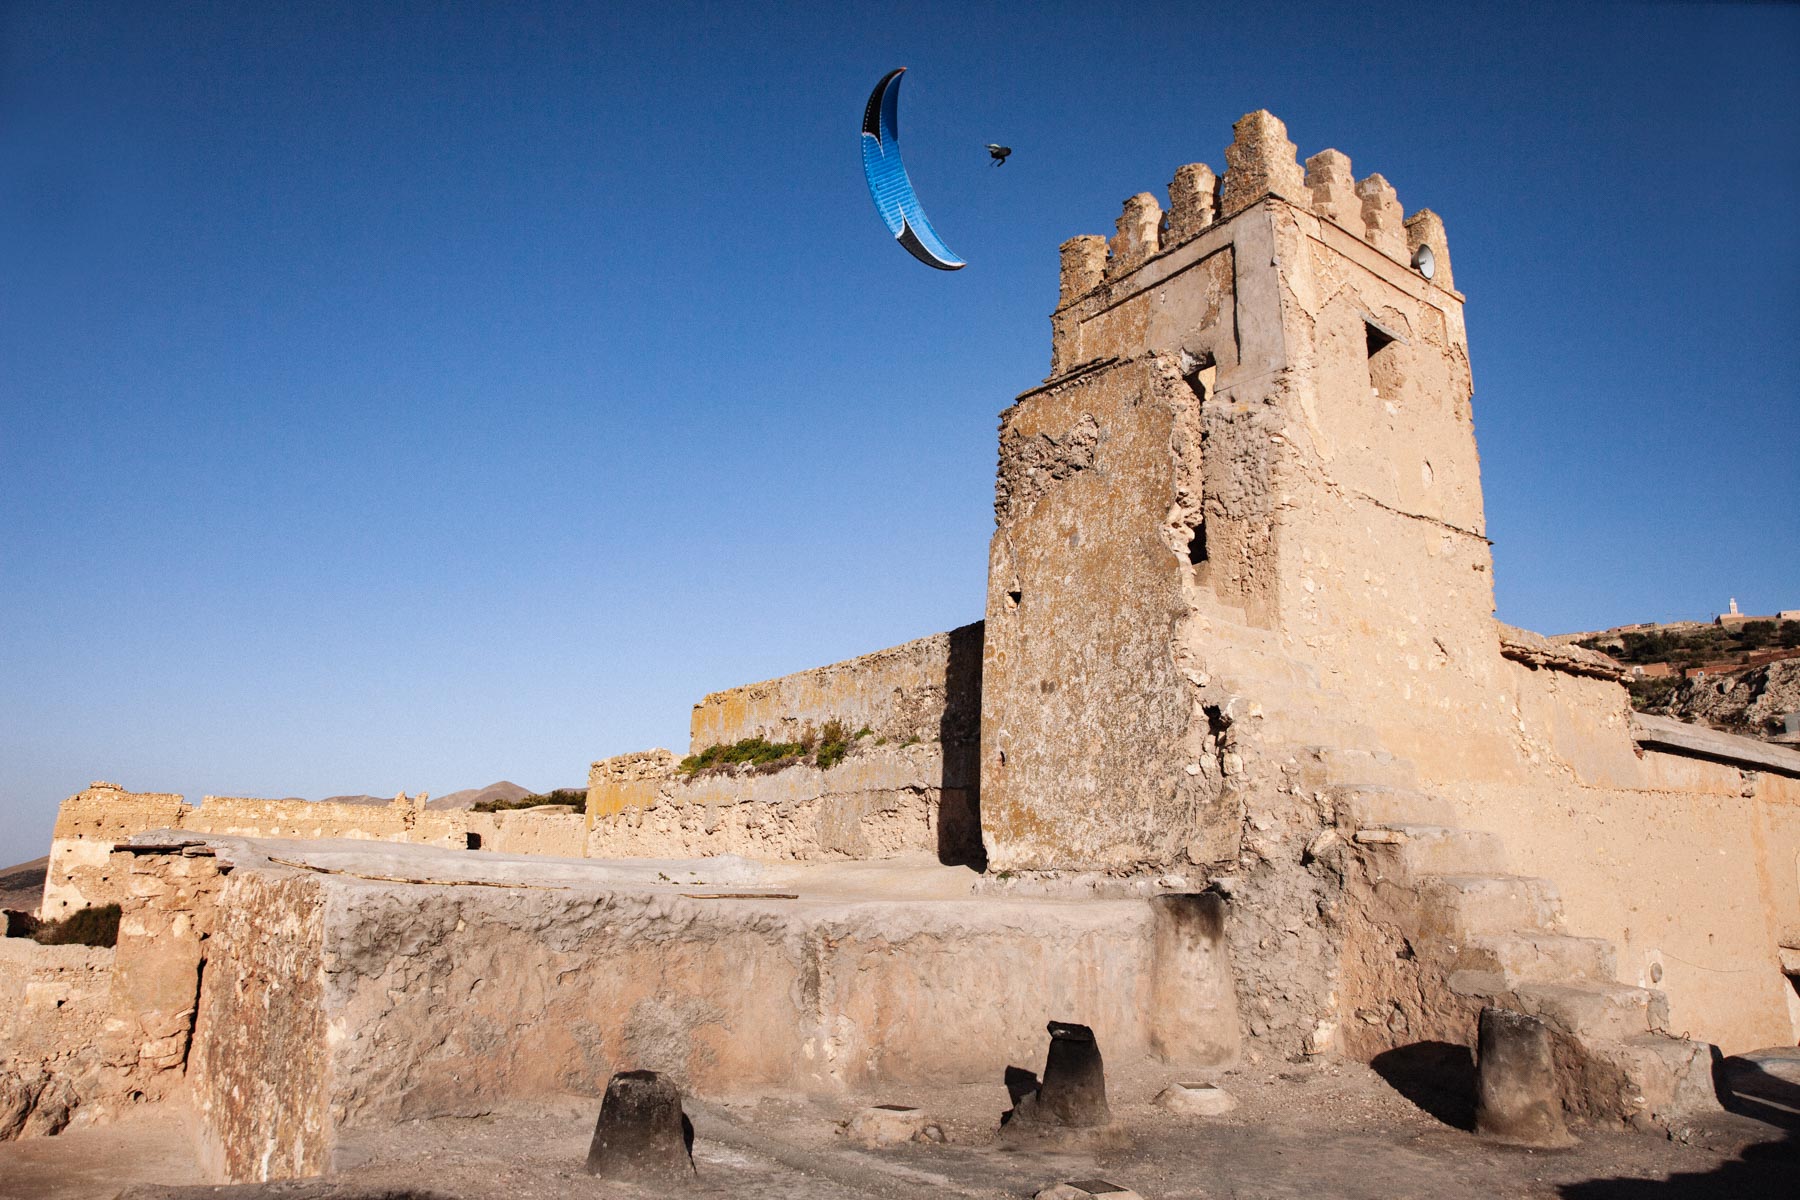
For this photo shoot in the Atlas we needed a number of things to come together. First, it had to be flyable at sunset. On some of the days it was flyable, but it was too cloudy. A lot of work but not a single photo. On other days it was too strong, or the light was bad, or by the time we all got coordinated in the air it was too late…like I said, a lot has to come together. On three nights we got nothing, the conditions just didn’t work. But on three other nights there were brief moments that briefly came together. It was always a case of wait, wait, wait…NOW GO! Hurry, hurry, hurry. It’s hard to coordinate between the pilot flying me, the pilot I’m shooting, and somehow getting it all to click into a perfect moment.
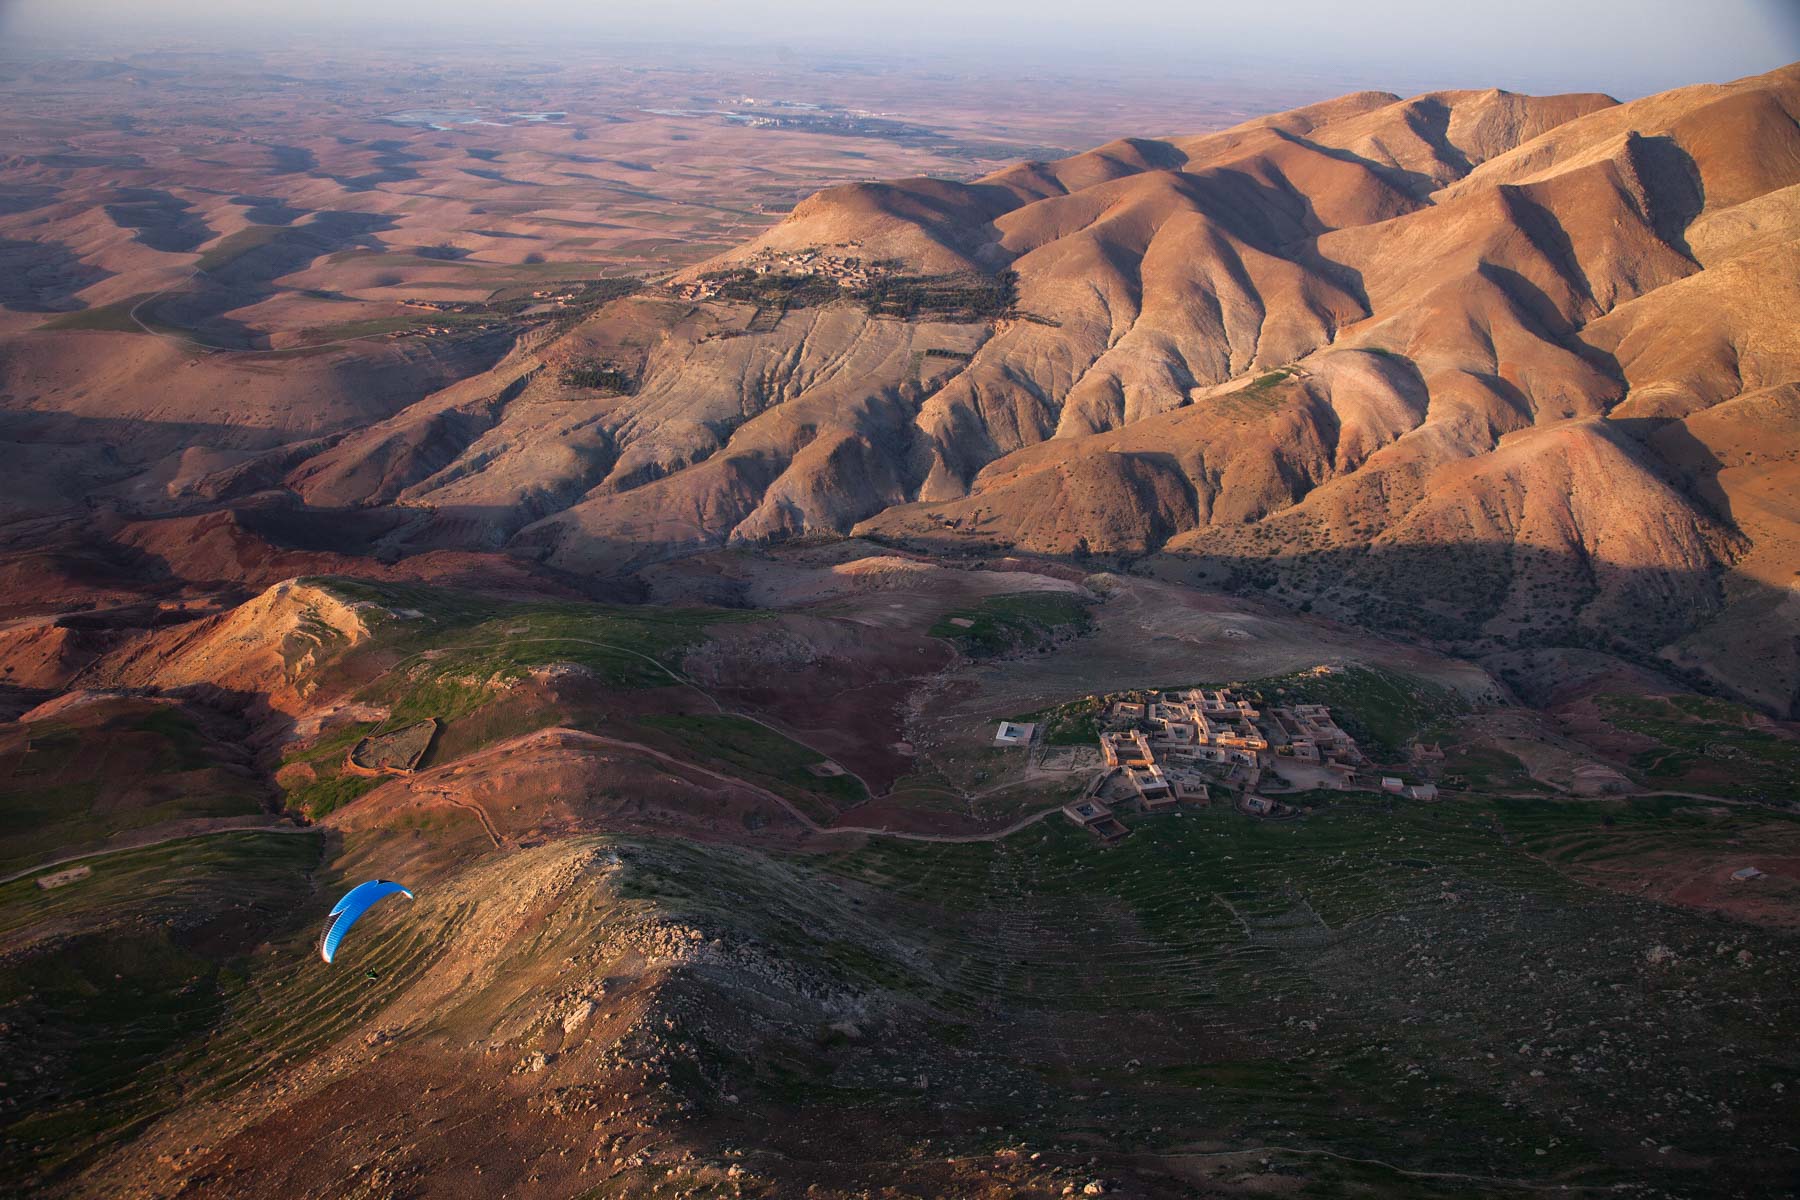
At one of the sites we flew there is a small ancient village perched on a cliff that just screamed for a photo with a paraglider over the dilapidated crumbling mud walls. I scouted the site by foot in the middle of the day, when it was neither flyable (too strong) or photographable as the light was too harsh. I took shots of various angles that I thought would work and showed the pilot where I wanted him on the LCD screen of the camera. We worked out a plan. I’d get into place after 4 pm, just as the light started getting decent and he would launch if the conditions were safe. Three times we attempted to get some shots here, but it wasn’t til the 4th attempt, on the last day that it came together. The wind was just right for the pilot to be able to soar above the castle and I could move around and take a few shots from different places. It wasn’t an ideal spot to paraglide so without a willing subject it would be a hard photo to get.
There were quite a few other pilots around this week who got to see the whole production of what we went through to get some of the shots you see here. I think they were all surprised with how much work goes into photography. I love going on these shoots because it just stirs the imagination and you start imaging getting all kinds of different angles and stories through imagery. If you have any questions about the gear I use or other questions about how I shot these images, please leave a comment!
The biggest thing is to start practicing. As you keep trying, you will figure out what system works best for you.
Check out more paragliding images from my photo shoot in Morocco here.


Such a mind blowing clicks. I can understand your patience for this beautiful clicks.
Thank you so much!